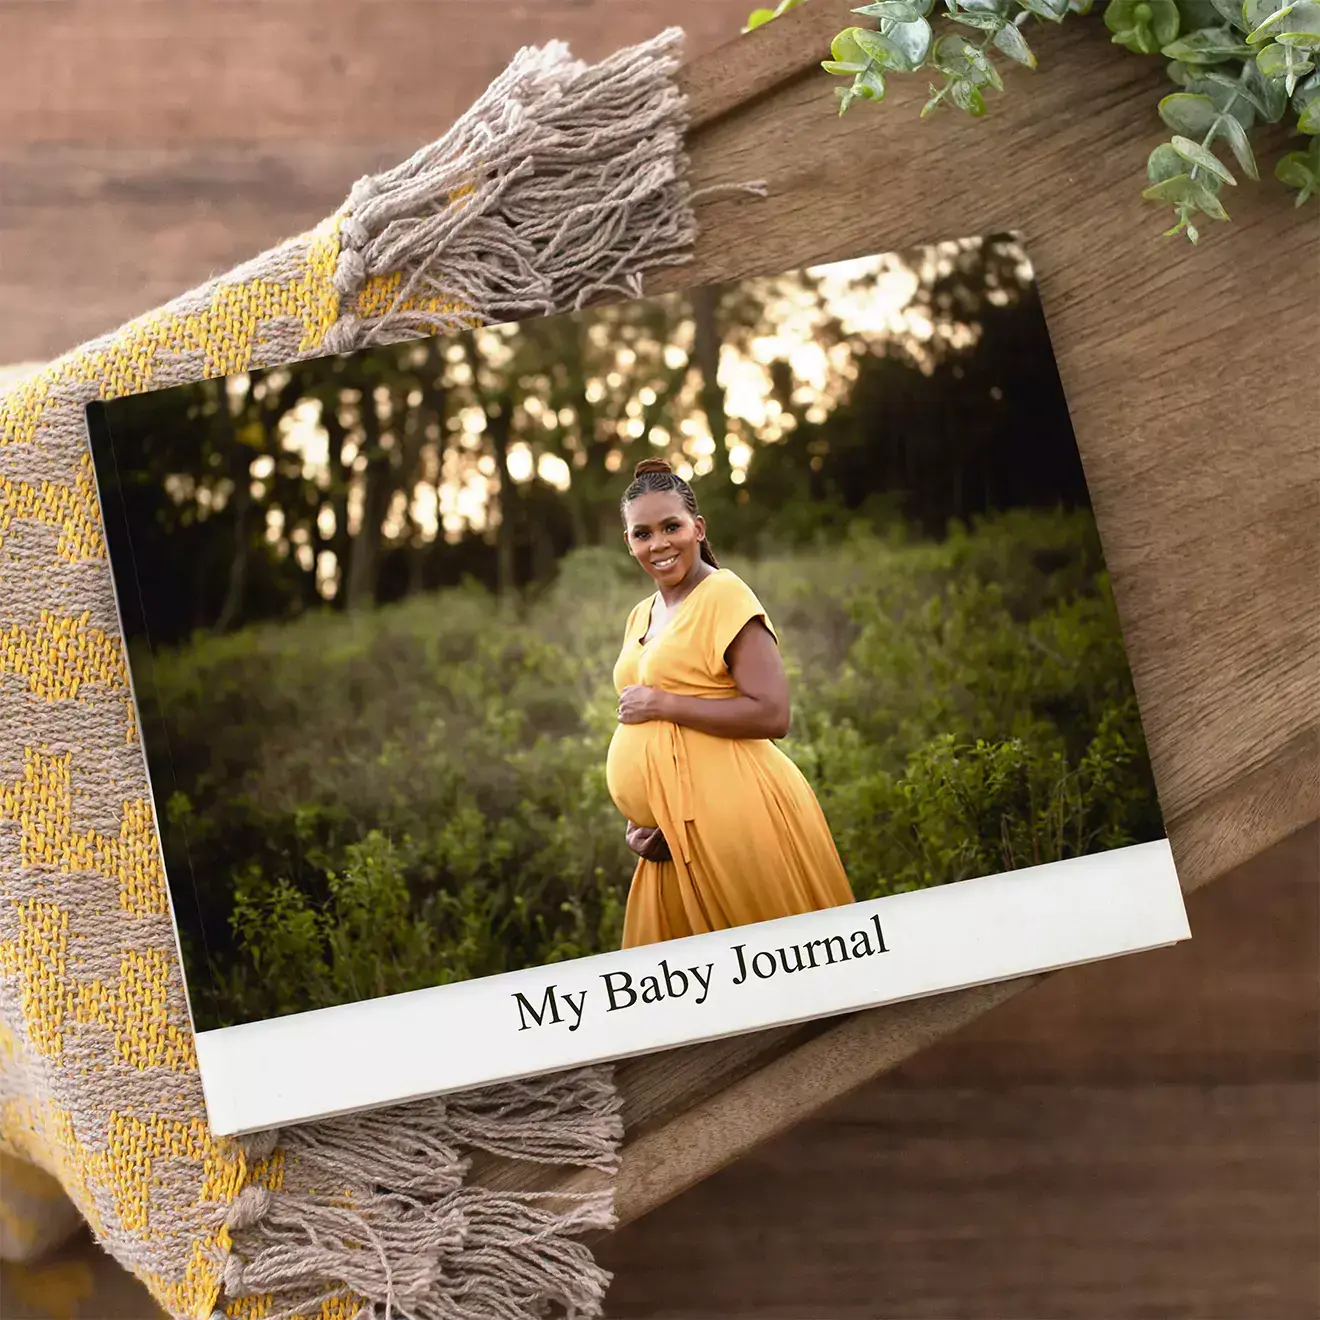


Cost of Photo Book Printing - Calculator
Calculator
- Approx size: 30x21cm Cover Options:
- Hardcover, Gloss Laminated (default)
- Hardcover, Wheat Laminated (scratch resistant)
- Hardcover, Leather, canvas and linen (premium)
-
Paper Options:
- 150gsm Silk (default)
- LayFlat 176gsm
- Printing: 2400dpi Laser
- Pages: 12-200
Bulk discount:
(5+ copies, 10% off) - (20+ copies, 20% off) - (50 copies, 30% off)
50+ mail for a quote
Create your Photobook in 3 Easy Steps

Free delivery: Main Centers, Orders over R599

Dedicated customer support

Quality guaranteed

A truly South African company

Secure online payment
Hardcover Photo Book Calculator | RapidStudio
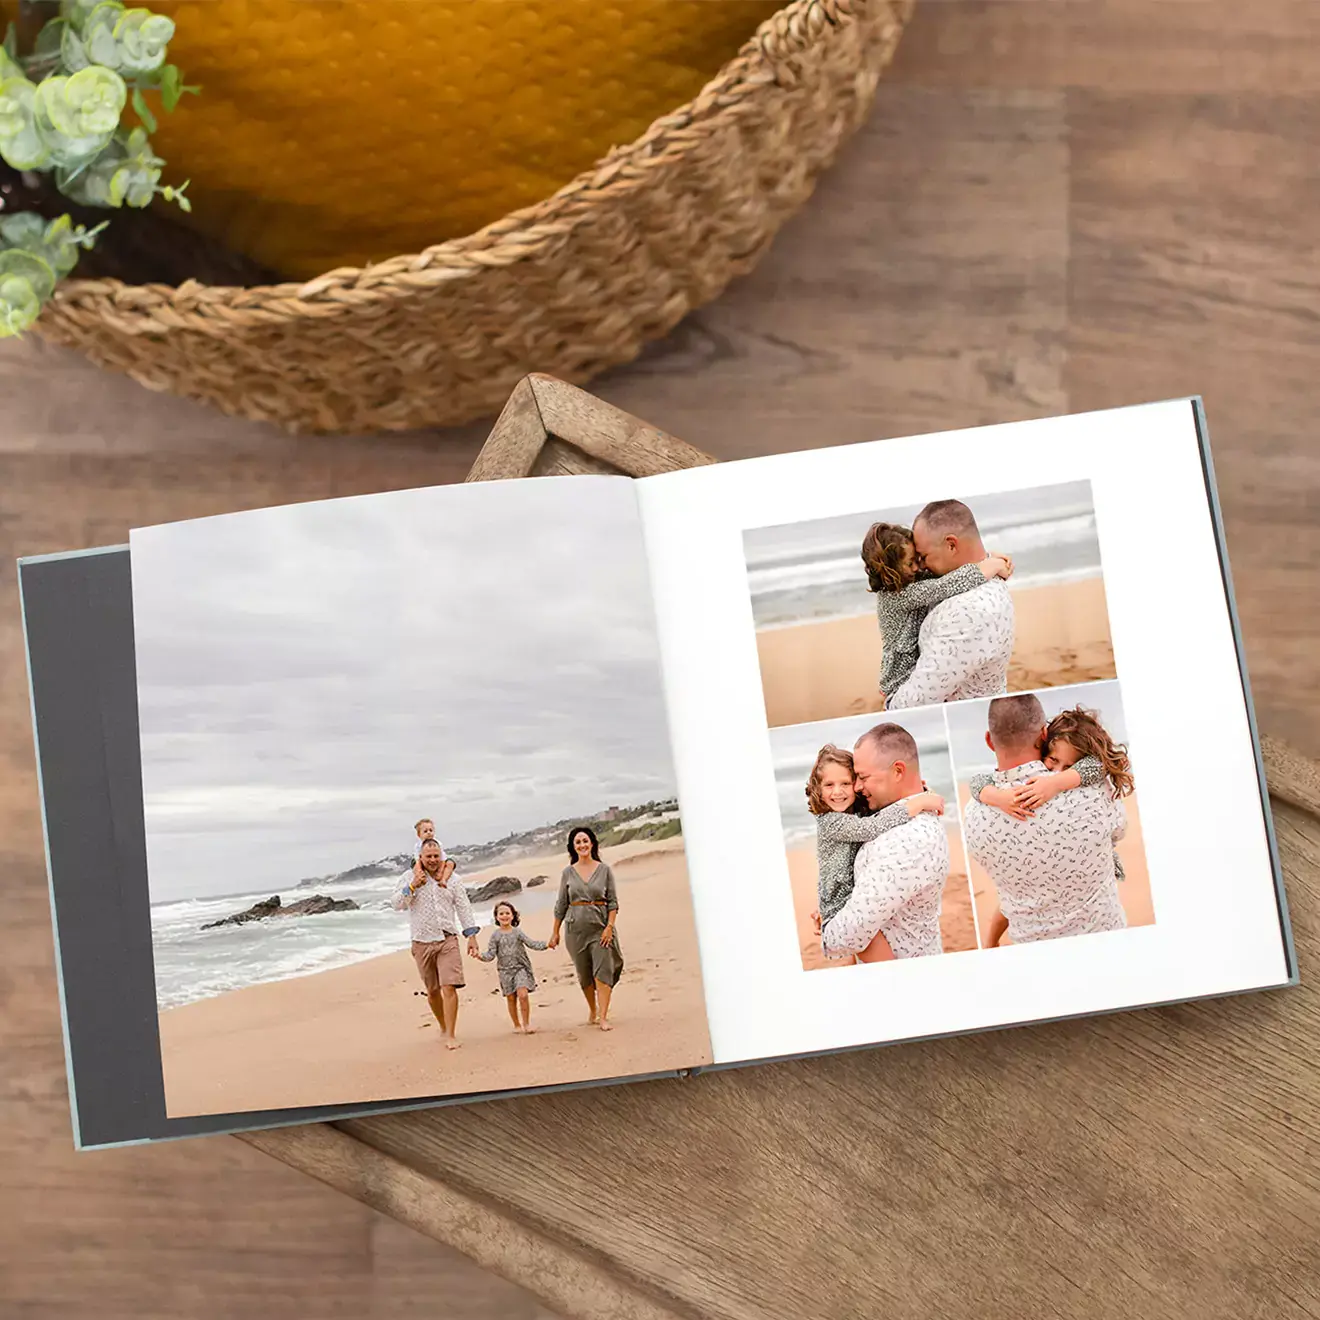
RapidStudio’s online photobook editor offers beautiful, professional layouts that are easy to use. If you prefer to use alternative design software, follow the steps below.
Calculate and set up PAGE size with bleed. This avoids white edges on your finished pages. Use the provided table for your chosen photobook size.
A4 Landscape Hardcover Photobook PAGE Size
| Bleed mm (all around) | Trimmed Height | Trimmed Width | Final Height inc Bleed | Final Width inc Bleed |
|---|---|---|---|---|
| 4 mm | 210 mm | 297 mm | 218 mm | 305 mm |
Step 1: Set up Pages
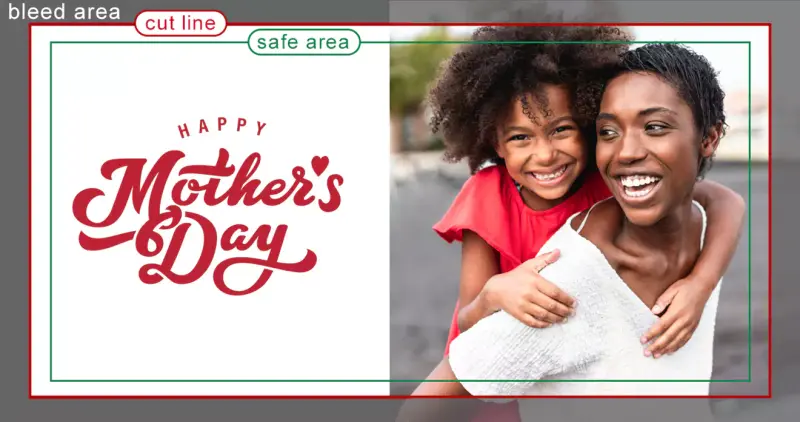
This is the approximate area where the guillotine will trim your page to size.
BLEED
This section of the artwork outside the cut line will be trimmed off. It ensures the picture will bleed off the page and there will be no white lines between your picture and the edge of the page.
SAFE AREA
The important parts of images & text must be inside the green safe area line to avoid being cut off.
Step 2: Set up Cover
We recommend using the RapidStudio editor for the cover design for its preset designs and built-in spine size. If you're using your own design program, follow the instructions below.
A4 Landscape Hardcover Photobook COVER Sizes
| Number of Pages | Bleed (each side) | Spine size | Final Cover Height including Bleed | Final Cover Width including bleed |
|---|---|---|---|---|
| 12-51 pages | 15 mm | 8 mm | 245 mm | 654 mm |
| 52-97 pages | 15 mm | 12 mm | 245 mm | 658 mm |
| 98-143 pages | 15 mm | 16 mm | 245 mm | 662 mm |
| 144-189 pages | 15 mm | 20 mm | 245 mm | 666 mm |
| 190-202 pages | 15 mm | 22 mm | 245 mm | 668 mm |
Step 3: Save or Export your files
Save cover and pages separately. Recommended resolution 300 DPI for images (high quality print) in sRGB colourspace.
Step 4: Upload files into the RapidStudio editor or send a link
Go to the top of this page and select your product options such as cover style, cover material, and colour, etc. and choose how you would like to send us your book - Multi-page PDF or single pages or send a link, then follow the instructions below:
- Prepare your files so that they are named in chronological page order, example 001.jpg, 002.jpg, etc.
- Choose the "Image Files (jpeg, png, heic)" option.
- Click the "import Artwork" button. This will launch the editor (where you will deposit your files).
- Click the "Upload images" button on the left-hand side of the editor and select your images.
- Populate your cover first buy dragging it in from the images on the left. (we still recommend that you use our layout but if you're sure you have set it up as indicated and understood the "bleed" please proceed.)
- Click on page 1 and click the autofill "wand", situated just to the right of the "Upload images" button. This will populate your book (it will automatically create the number of pages you need).
- Page through the entire book, make sure all key visual elements like text and picture borders are within the safe area (green line). All pictures that you want to "bleed" are off the page like the example above.
- Do a final check by clicking the "preview" button located just left of the "add to cart button" on the top right of your screen.
- There is a grey border around the page, this is the "bleed" it will be cut off but it needs to have part of the image (if you want it to "bleed") right to the edge for a good result.
- Choose the "PDF Multiple Page" option.
- Click the "import Artwork" button. This will launch the editor.
- Delete the picture placeholder on the cover (not necessary on iPhoto).
- Find the cover file that you have prepared (maybe on your desktop) and Drag and drop if onto the cover page. (If you have made the cover to the correct size it should fit perfectly, if not go to step 2 and follow the guide).
- Click on page 1.
- Drag and drop your pdf (the pages) on the first page and provided all the pages are the same size it will auto fill the book.
- Page through the entire book, make sure all items let text and picture borders are within the safe area (green line). All pictures that you want to "bleed" are off the page like the example above.
- Do a final check by clicking the "preview" button located just left of the "add to cart button" on the top right of your screen.
- There is a grey border around the page, this is the "bleed" it will be cut off but it needs to have part of the image (if you want it to "bleed") right to the edge for a good result.
- Go to wetransfer.com
- Click the upload files button or drag and drop to upload your files.
- Type info@rapidstudio.co.za into the email address and click the transfer button.
- After your files have uploaded on WeTransfer, a screen will pop up with a link to your files. Copy this link and paste it into the "file link" space provided above.
- Make sure you have selected all the options that you want, including the correct number of pages you need for your book.
For Single page files
For Multiple page files
Or, send a link
Step 5: Follow the ordering process
After all steps are completed, proceed to the cart and follow the checkout process.