How to make a photobook online
Chantal / 29 May 2025

How to make a photobook online
A Complete Guide to Creating and Printing Photobooks in South Africa
Creating a photobook can be a deeply rewarding experience, whether you're preserving memories of a wedding, family holiday, or baby's first year or making a friend a special gift. In this guide, we’ll walk you through the full process of creating and printing a photobook in South Africa, including estimated timelines, tips on choosing a photo book printing service, and how to save with photobook specials South Africa has to offer. We’ll also explore popular photobook ideas, styles, and what to expect from photobook prices.
How to Create a Photobook Online: Step-by-Step Guide
Creating a photobook online is easier than ever, thanks to user-friendly photo book software that enables you to access state-of-the-art, easy-to-use album making tools with simply a computer and internet connection. Whether you’re building a family keepsake, a wedding album, or a gift, the process can be broken down into manageable steps. Follow this guide to create your own photo book South Africa style!
Step 1: Choose a Photobook Platform
Start by selecting a trusted online photo book editor. Look for platforms that offer:
- Drag-and-drop functionality
- A wide range of customisable templates
- Compatibility with mobile uploads, especially if your photos are stored on your phone
The best platforms let you preview your book in real-time and offer autosave features, so you don’t lose your work.
When choosing, also consider:
- Photo book printing options (standard paper or layflat upgrade)
- Delivery times and shipping areas (especially for photobooks South Africa delivery)
- Support and customer service
Step 2: Organise Your Photos
Before you start designing, take time to sort and select your photos. This is often the most time-consuming part, but also the most important.
Tips for efficient photo selection:
- Short-listing your photos will depend a lot on what sort of album you’re making. If you’re making an album from a recent holiday, you’ll probably select your favourites. If you’re making a baby or childs album you’ll probably choose a selection of photos from each month and organise them into month-by-month folders. Choose a way to organise your pictures that matches the type of album you’re making. Saving and loading them in chronological order is useful in most instances.
- Choose high-resolution images where possible, but good photobook software will warn you if a photo has too low resolution that will affect the printing quality.
- Create a separate folder on your device to gather your final selection.
If you're working on a legacy project—like figuring out how to make a photo book with old pictures—you’ll need to digitise them first using a scanner or scanning app. Be sure to name files in a way that reflects their sequence or event (e.g. “2016-holiday-1.jpg”).
This step ensures a smoother design experience and helps the story you’re telling flow naturally from page to page.
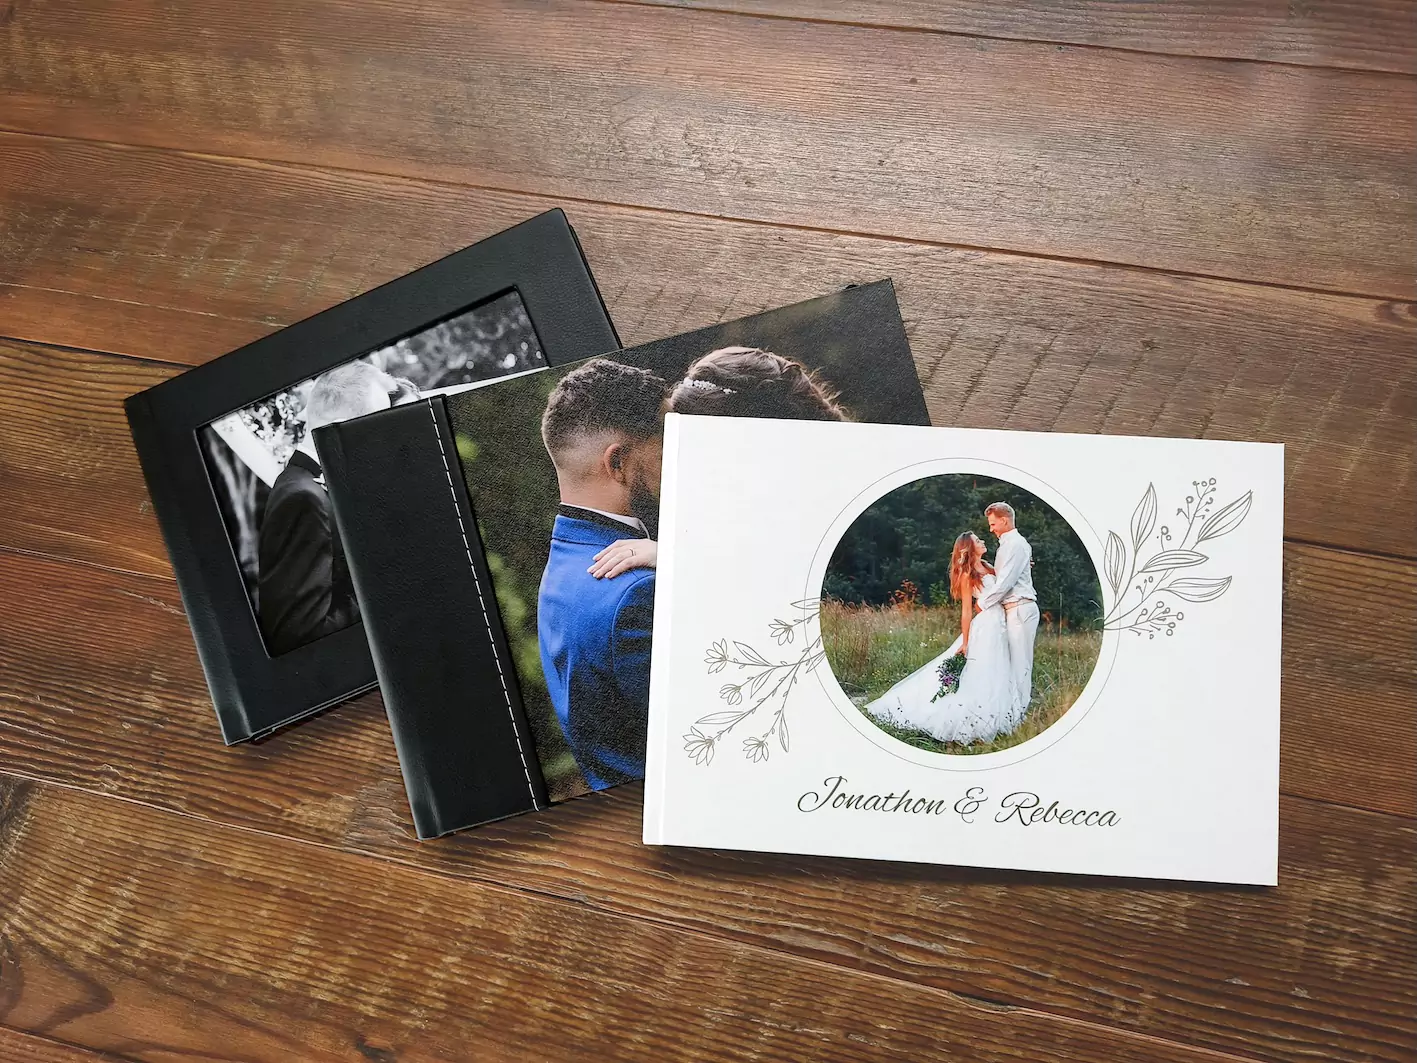
Step 3: Select a Photobook Type and Size
This is where your project starts to take shape. Ask yourself:
- Is this a gift or a family keepsake?
- Big budget or small budget?
- Square or landscape layout?
- Will it be passed down through generations, or shared casually with friends?
These questions will help when browsing the range of photobook options. Most companies offer a standard product and a more high end option for keepsake moments and weddings etc. .
Common photobook types include:
- Landscape formats: Perfect for travel or scenic photos
- Square formats: Fancy on the shelf and landscape size when open
- Portrait formats: Less common
Other customisation options to consider:
- hardcover vs softcover Hardcovers are more durable and look more premium.
- Paper finish: silk or layflat
- Binding: Standard including layflat pages option. Butterfly binding in higher end ranges where the images flow continuously across the page without being interrupted at all by the spine.
- Cover: Printed with picture, fabricated with leather, linen and canvas of combo - partial fabricated partial photograph.
This is also a good time to check for any photobook specials South Africa on offer.
Step 4: Create and Personalise Your Layout
Now the fun begins—creating your photobook layout. Many platforms provide ready-made themes and layouts, but you can also build your own from scratch.
Personalisation ideas:
- Add text captions
- Use decorative backgrounds or clipart
- Include dates or milestones
- Start with a title page and end with a closing message
If you’re telling a story—like a year in review or a couples journey , use consistent fonts and colour schemes for visual harmony. Think about the pacing of the book: include “resting” pages with fewer images to let key moments stand out.
Pro tip: Avoid overcrowding your pages. It’s tempting to include as many photos as possible, but leaving some white space helps your favourite memories shine.
Step 5: Preview, Proofread, and Finalise
Before hitting the order button, take time to preview every single page in full-screen mode. Double-check:
- Spelling and grammar
- That no photos are blurry, cropped incorrectly, or repeated
- Image alignment and spacing between elements
- There are no warnings on the album making software about low resolution images or text being cut off.
- Cover and spine text if applicable.
Careful preview of your book in full screen mode will ensure you are 100% happy with the final product. It’s worth taking the time to page through and check every element.
Final checks:
- Have you chosen the right photobook print settings (size, paper, binding)?
- Did you apply any coupon codes or special offers?
- Is your delivery address correct?
Once submitted, your book typically goes straight to print—so make this last check count.
How Long Does a Photobook Take to Make
A common question among first-time photobook design creators is how long does a photobook take? We start with a general timeline below, but the answer depends on a few key factors—including the type of book you’re making, personality, use of photobook software shortcuts.
Estimated Time to Create a photobook:
- Sorting & selecting photos: 1–3 hours
- Designing the photobook: 2–6 hours
- Reviewing & finalising: 1 hour
Factors that affect the speed:
- Software shortcuts: The ‘autofill’ button can help finish your book in five minutes. This especially works well if you’re using a themed-design. You’ve chosen an artistic design you already like, now the autofill button instantly populates your photo book with your shortlisted pictures.
- Personality: Are you a perfectionist? Chances are your photobook will take longer to complete—or worse, may never get finished at all. If you know you tend toward perfectionism, we strongly recommend you set a clear deadline and treat this as a creative learning experience rather than a flawless masterpiece. Remember, it’s completely normal not to get everything perfect, especially if it’s your first time designing a photobook. Give yourself permission to make small imperfections and focus instead on the joy of telling the story. Done is better than perfect—and each photobook you make will get easier and more polished over time. Treat this one as version one, not your final legacy archive. Your skills will grow, your books will get better, it’s ok to not be a pro at the start.
- Type of book: Some photo books are easier than others. Typically, the most time consuming part is finding and selecting the photos. For example a holiday book of your favourite pics is much easier than a baby's first year album where you need to go through a lot of pictures to select the ones you want to include in your book. If you’d like some help with getting more skilled and learning shortcuts most good photobook companies will offer free, regular online workshops for their customers and helpful resources on YouTube .
Most photo book companies offer free workshops and YouTube resources to help you get better and faster.
Where to Print Photobook in South Africa
This step ties closely to the choice you made earlier when selecting a photobook platform. Most photo book companies require you to print with them if you used their software. If you’re designing in professional software like InDesign or Canva, ensure you follow the printer’s bleed and layout requirements.
When choosing where to print photobook projects, consider:
- Range of available products
- Customer reviews
- Photobook photobook prices
- User-friendly photo book software
- Turnaround time
- Delivery across South Africa
- customer support
Photobook Specials South Africa: How to Save when printing a photobook
Creating a photo book doesn’t have to break the bank. Look out for:
- Seasonal promotions:Black Friday, Christmas, Valentine’s Day
- Bulk deals: Save when ordering multiple copies
- Email newsletter discounts
Create Your Own Photo Book South Africa: Tips for Success
- Think of your theme/story first. What is your book about? Everything will flow from here - the template you choose, pictures and how you tell the story.
- Go easy on yourself - aim to get it done in the time you have rather than make every detail perfect.
- Give yourself enough time: There are ways to make a book in 5 minutes, but chances are you’ll want to dedicate a bit of time to this special project. Avoid setting unrealistic timelines that are going to frustrate you and take away the joy from the project. If you do have to get it done quick, let go of the need for it to be perfect - you can nail that on the next one.
- Less is more: Choose a palette and stick with a few complementary colours. Same with clipart and text. Ready-made themed album designs will help with this as those elements will already be curated for you. Less is more when it comes to pictures too. Sure it’s great to have one page with loads of pics, but make the opposite page less - room to breathe and for the reader to really take in the photographs.
- Most importantly—have fun!
Conclusion: Make Your Photobook Journey Easy and Enjoyable
Creating a photobook in South Africa can be fast, affordable, and meaningful—if you plan ahead. The process typically takes 1 to 2 weeks, from photo selection to delivery, and there are plenty of tools to help you do it from the comfort of your home.
Whether you’re making a gift, preserving memories, or telling a personal story, enjoy the process and the smiles as you share your book. Start creating something special today using the best photo books online and explore the endless world of photobook ideas.