Tip 11: How do I design around the spine?
Steven Hook / 28 September 2011
How to Design Around the Spine
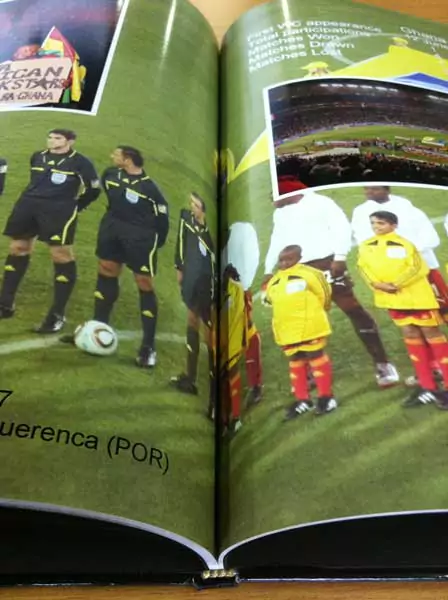
When designing photobooks, it’s essential to account for the binding process. The spine creates a narrow valley between the left and right pages of a spread, which can obscure parts of your design. This means that any images or text crossing the center of a spread might be partially or entirely lost.
Why It Matters
We often receive photobooks with important elements—like faces or text—positioned across the spine. While we try to notify customers if we notice something important may be cut off, this can cause delays in the production process. Despite our efforts, RapidStudio cannot guarantee corrections every time.
Tips to Avoid Design Issues
- Keep all key elements of your design—such as faces, text, or focal points—away from the center of the spread.
- Use the dotted lines in the software as a guide. These lines mark the safe area near the spine, where content should not be placed.
- Leave a few millimeters of space on either side of the spine to ensure no critical elements are lost.
Pro Tip
When working with full-spread images, ensure that any critical details are positioned well away from the spine. This will preserve the integrity of your design and ensure your photobook looks flawless.
By following these tips, you can create stunning photobooks without worrying about design elements being obscured. For more design tips and inspiration, explore our photobook and album options.