How do photo books work
Jesse / 3 July 2025
What makes a photo book different from a simple print stack
A photo book isn’t just a bunch of pictures bound together. It’s structured, intentional, and designed to tell a story from start to finish. Unlike loose photo prints that sit in envelopes or boxes, a photobook gives your images context. The sequence of pages matters, and so does the layout on each spread. When it’s done right, every page feels like it belongs in the flow. This helps people follow the narrative without needing explanations. That sense of order gives it more impact than a set of random prints ever could.
Binding makes a big difference. A photo book is held together with purpose, whether it’s through perfect binding, lay-flat design, or spiral coils. This gives the collection of photos physical strength. Pages won’t fall out. They won’t tear as easily. And you don’t need to worry about plastic sleeves or folders. Everything stays where it’s meant to, and that creates a proper viewing experience. The book can sit on a shelf or coffee table without needing extra support or protection. This video perfectly demonstrates different kinds of photobook layouts, binding and types.
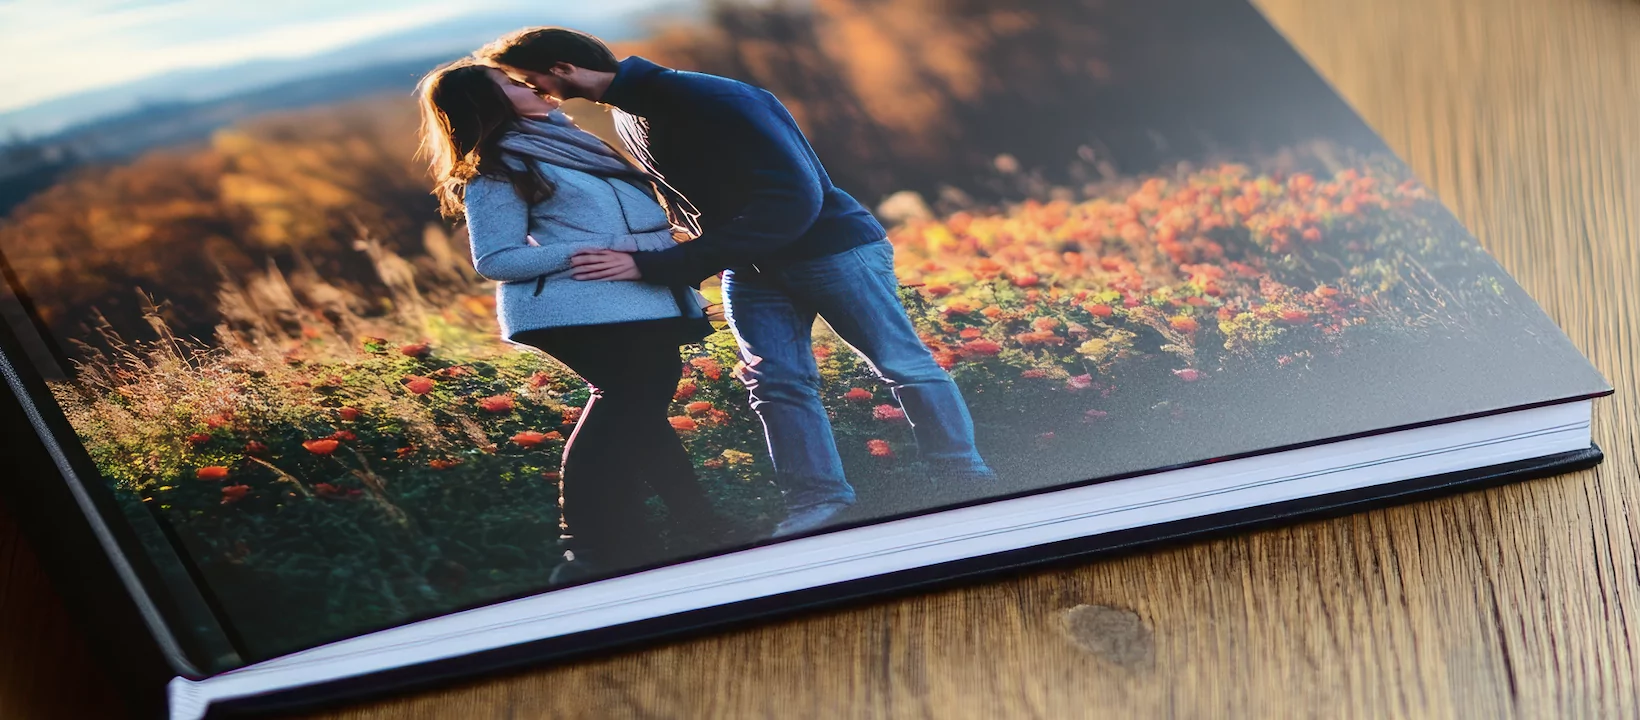
Covers matter too. They protect the contents and give the book a sense of finish. A hardcover photo book, like the ones seen in this hardcover range, feels permanent. It shows you’ve taken the time to preserve something worth keeping. Softcover photobooks are more relaxed but still give structure. Either way, a cover turns your photo collection into something that looks complete and ready to be shared.
Picking a size that fits your vision
Choosing the right size for your photo book isn’t about picking the biggest one. It’s about finding the best match for your photos and the photo book you have in mind. Some like the symmetry of square photo books. The shape matches Instagram layouts and gives your photos symmetry. Square books can also be compact, which makes them a lovely gift. In the larger square sizes they can be bold statement pieces.
Then there are panoramic options. These books are wider than they are tall, which makes them ideal for scenic photography or large group shots. If you’ve travelled somewhere with big views or have events with wide-angle photos, a panoramic spread lets you show it all without squashing the details. The extra space means you can display an image across a double-page without splitting a face or focal point down the middle. These formats usually work best with lay-flat binding so that nothing important gets lost in the fold.
Portrait A4 books are ideal for more formal setups. They follow a similar shape to magazines and printed reports, which gives them a familiar look. This size works well for graduations, ceremonies, birthdays, or even professional portfolios. You get space for both vertical and horizontal images, depending on how you build your layout. The dimensions are balanced enough to allow text alongside your photos without crowding the page. Portrait books are more common in softcover photobooks.
Cover options that stand up to handling
Hardcovers offer the most protection, and they’re perfect if you plan to handle the book often or keep it long-term. A hardcover won’t bend, and it absorbs knocks better than other options. This matters if you’re making a gift, a family album, or something that might be passed around a lot. With the added stability, hardcovers also make the book feel like a proper keepsake. You can get a closer look at this through examples of harcover photobooks built for durability and clean presentation.
Fabric or leather-covered photo books give a different experience. These are usually available in more high-end photobook ranges. The texture adds character, and the material softens the look of the cover. These are great for albums that feel more personal or handmade. You might use them for wedding, baby books, memory journals, or anniversary gifts. The fabrics are varied and can be finished in a variety of ways depending on how simple or detailed you want the result to be. These books often feel more personal and can be combined with embossing for extra impact.
Softcover books are more flexible. They’re lighter, easier to carry, and often quicker to print. While they don’t offer the same level of protection, they’re perfect for casual photo collections or when you want to print multiple copies without spending too much. A good example of this is found in these softcover photo books which show how light builds don’t have to look cheap. They still deliver structure, but without the heavier price or handling needs of hardcovers.
Paper choices and colour depth
Silk paper is a great all-round paper for digitally printed photobooks. It’s in-between gloss and matte finish, reduces shine and softens the image. This is also a great paper for more muted tones, black-and-white photography, or formal subjects. It also feels smoother and doesn’t attract smudges. The overall look is more subtle and timeless, which suits albums where the emotional tone is softer.
Lay-flat paper has a very similar finish to silk, but is different in the binding. The paper has a built-in spine. This allows the pages to lay-flat when the book is open. This broadens your design options to include layouts where the image traverses the page, or a lovely double-page spread. Here’s a great demonstration of layflat and silk papers.
Matte Lustre photo paper is produced in a wet lab using silver halide technology. It is the premium of paper finishes and usually available in higher-end albums. It holds colour well but avoids the harsh shine of full gloss. It’s often used for wedding albums or professional portfolios because it offers clarity without drawing too much attention to the finish. If you’re unsure which way to go, lustre is a safe and versatile option that suits most lighting conditions and image types.
From phone to page: getting files ready
Most people use their phones to take photos, but that doesn’t mean the print quality has to suffer. The key is saving your files at full resolution. Avoid sending them through chat apps that compress size. Upload them directly to your computer or cloud storage in their original format. This helps maintain detail and keeps your prints looking sharp at larger sizes. Some photobook companies even have technology to link your phone directly to their album making software allowing you to upload your pictures directly from your phone into your photobook gallery.
Editing for print is different to editing for screens. Your phone screen is backlit, which makes images appear brighter and more vibrant. On paper, they might come out dull if not adjusted. Check contrast, shadows, and white balance before finalising the files.
Organising photos before upload can save hours later. Sort them into folders based on events, dates, or themes. This makes it easier to build a logical flow once you’re inside the design software. Whether you’re telling a story or just grouping moments together, preparation helps the final book feel complete rather than rushed.
Using design tools without a learning curve
Modern photo book tools are built to be easy to use. Drag-and-drop builders let you place images wherever you want without needing design skills. You can choose from pre-set layouts or build your own. These templates help keep spacing consistent and make sure everything lines up properly, which cuts down on editing time.
Auto-fill features are helpful when you have lots of photos to place. The tool arranges your images into pages based on loading sequence and filename, giving you a base to work from. You can still change things later, but this speeds up the process and prevents duplication. It’s also useful when building a yearly photo book or ongoing project.
Adding text that supports the story
Text can elevate a photo book when used correctly. Captions should be short, clear, and relevant to the image. They provide context without taking attention away from the photo. A well-placed date or name is often enough. If you’re telling a longer story, spread the text across pages so it reads like a timeline rather than a block.
Font choice matters. Stick to one or two fonts to keep the look consistent. Mixing too many styles can make the book feel cluttered and amateur. The key is readability. Fancy fonts might look interesting, but if they’re hard to read, they don’t serve their purpose.
Avoid placing text too close to the edges or near the fold. Use margins wisely to keep things balanced. Leave breathing room around each caption and avoid overlapping text with images unless the contrast is clear. This helps your words feel like part of the page, not something added as an afterthought.
Quality checks before pressing print
The final step before printing is quality control. Start with bleed margins. These are small areas around the edge of each page that help during cutting. If you ignore them, you risk losing parts of your photo or having white edges appear. Always keep important details away from the edge to avoid this.
Go through each page in preview mode. Check that images are centred, captions are correct, and there are no layout glitches. Make sure the flow from one spread to the next makes sense. This is your last chance to fix spacing, rotate photos, or shift text into better positions. Don’t skip this part. It can save you from costly reprints.
If you’re printing something high-value or ordering multiple copies, it’s worth getting a single sample first. This lets you check the colours, finish, and binding in real life. You’ll pick up on things you might miss on a screen, like how the pages turn or how text appears under different lighting.
Caring for the finished book
Once your photo book is printed, storage is everything. Keep it in a dry, cool place to prevent warping or mould. Avoid direct sunlight, which can fade colours over time. Even high-quality prints will break down if exposed to heat and humidity. If the book comes with a sleeve or box, use it for extra protection.
Avoid stacking heavy objects on top of photo books. This can warp the pages or bend the spine. If you’re displaying the book, rotate its position every few weeks to reduce exposure and pressure in one spot. Simple habits like these keep your photo book looking sharp for longer.
Cleaning is easy but should be done with care. Use a soft cloth to wipe the cover, especially if it’s glossy or laminated. Don’t use cleaning products or water directly. If the book gathers dust, brush it off lightly without pressing down too hard. Gentle handling keeps everything in good shape and makes your book last longer.
Cost tiers and what they offer
Not all photo books cost the same, and the differences usually come down to materials and production methods. Entry-level books are cheaper because they use thinner paper, basic covers, and standard printing. They’re fine for casual projects or gifts but won’t hold up as long under heavy handling.
Mid-range books give you a bit more. You’ll often get hardcover options, better quality paper, and improved design features. These strike a balance between price and presentation. If you’re printing a once-off event or want something that still looks polished without spending too much, this is the sweet spot.
Premium books cost more but come with thicker pages, stronger bindings, and refined finishes. Albums like those found in the ultimate albums range fall into this tier. They’re built to last and often include packaging like keepsake boxes or linen covers. These are the kinds of books you hand down or store with intention. This video beautifully demonstrates the difference in book between different tiers.