
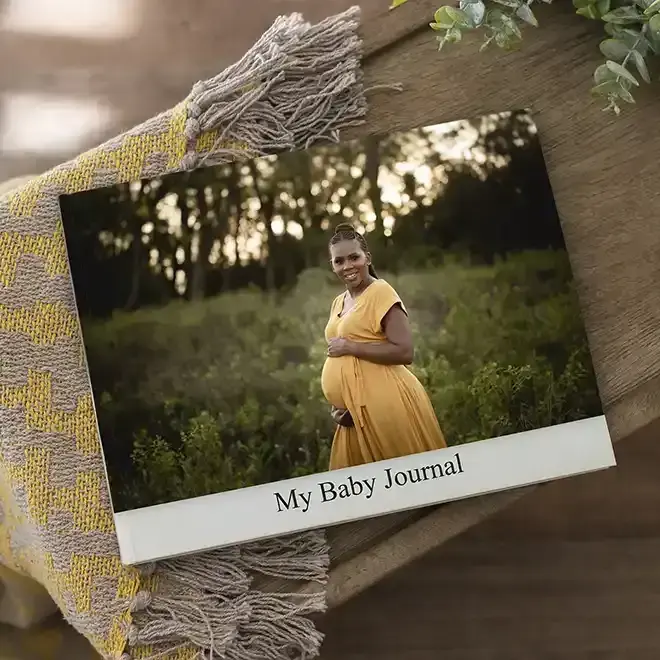
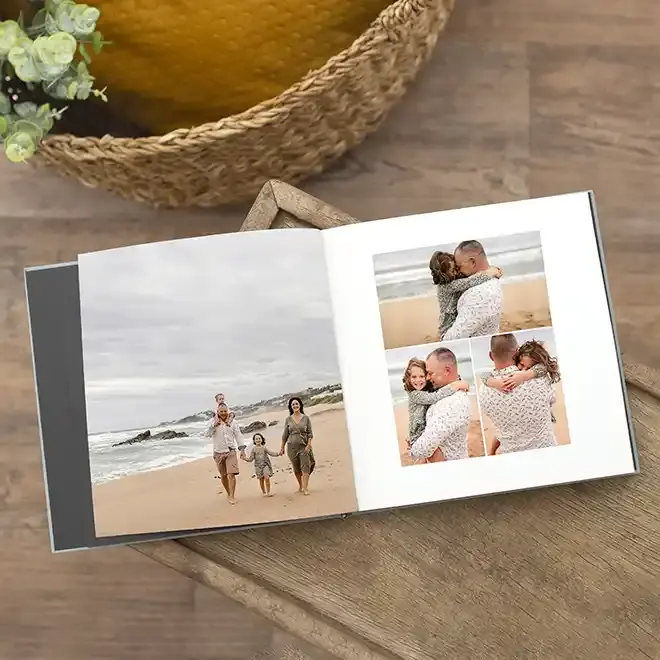
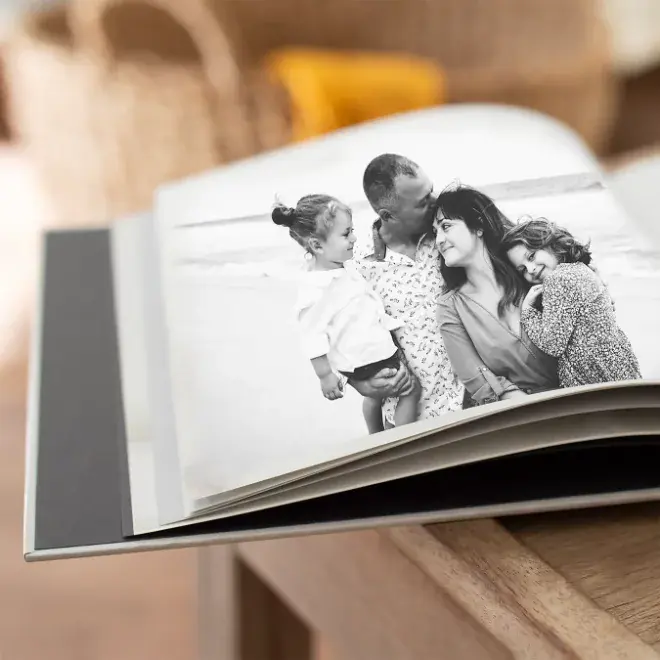
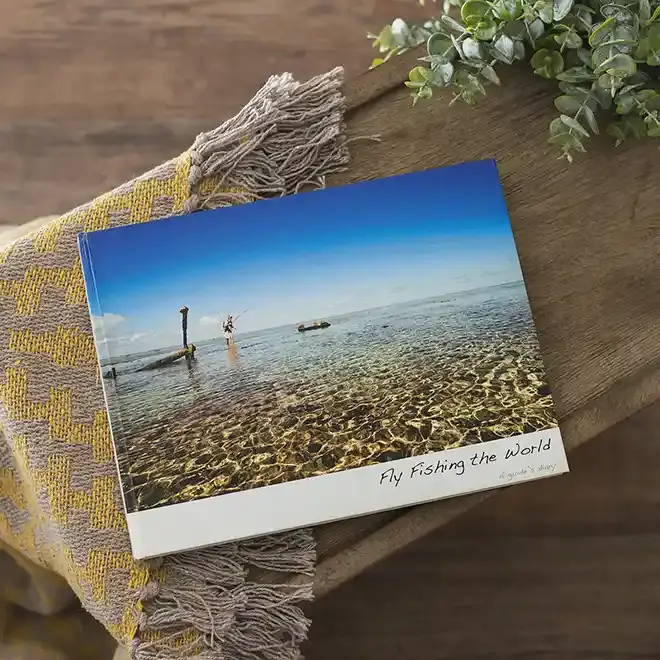
Hardcover Photobook A4
Choose your Book Size


RapidStudio’s online photobook editor offers beautiful, professional layouts that are easy to use. If you prefer to use alternative design software, follow the steps below.
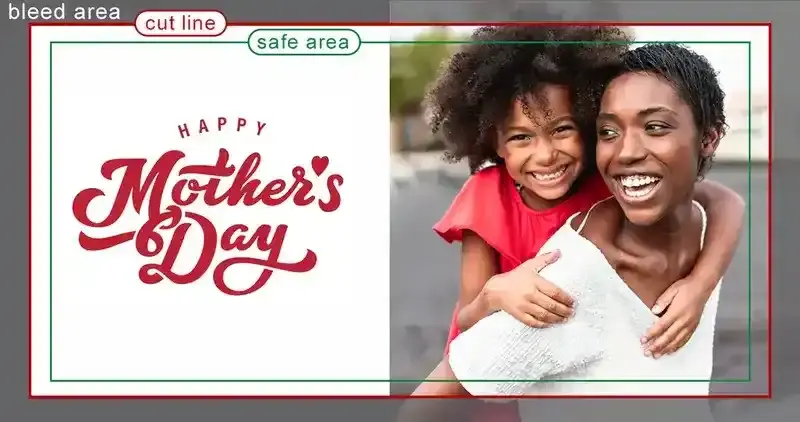
Calculate and set up PAGE size with bleed. This avoids white edges on your finished pages. Use the provided table for your chosen photobook size.
| Bleed mm (all around) | Trimmed Height | Trimmed Width | Final Height inc Bleed | Final Width inc Bleed |
|---|---|---|---|---|
| 4 mm | 210 mm | 297 mm | 218 mm | 305 mm |
We recommend using the RapidStudio editor for the cover design for its preset designs and built-in spine size. If you're using your own design program, follow the instructions below.
| Number of Pages |
Bleed (each side) |
Spine size | Final Cover Height including Bleed |
Final Cover Width including bleed |
|---|---|---|---|---|
| 12-51 pages | 15 mm | 8 mm | 245 mm | 654 mm |
| 52-75 pages | 15 mm | 10 mm | 245 mm | 656 mm |
| 76-97 pages | 15 mm | 12 mm | 245 mm | 658 mm |
| 98-119 pages | 15 mm | 14 mm | 245 mm | 660 mm |
| 120-143 pages | 15 mm | 16 mm | 245 mm | 662 mm |
| 144-165 pages | 15 mm | 18 mm | 245 mm | 664 mm |
| 166-189 pages | 15 mm | 20 mm | 245 mm | 666 mm |
| 190-202 pages | 15 mm | 22 mm | 245 mm | 668 mm |
Save cover and pages separately. Recommended resolution 300 DPI for images (high quality print) in sRGB colorspace.
Go to the top of this page and select your product options such as cover style, cover material, and color, etc. and choose how you would like to send us your book - Multi-page PDF or single pages or send a link, then follow the instructions below:
For Single page files
For Multiple page files
Or, send a link
After all steps are completed, proceed to the cart and follow the checkout process.
RapidStudio’s online photobook editor offers beautiful, professional layouts that are easy to use. If you prefer to use alternative design software, follow the steps below.
Calculate and set up PAGE size with bleed. This avoids white edges on your finished pages. Use the provided table for your chosen photobook size.
| Bleed mm (all around) | Trimmed Height | Trimmed Width | Final Height inc Bleed | Final Width inc Bleed |
|---|---|---|---|---|
| 4 mm | 210 mm | 297 mm | 218 mm | 305 mm |
We recommend using the RapidStudio editor for the cover design for its preset designs and built-in spine size. If you're using your own design program, follow the instructions below.
| Number of Pages |
Bleed (each side) |
Spine size | Final Cover Height including Bleed |
Final Cover Width including bleed |
|---|---|---|---|---|
| 12-51 pages | 15 mm | 8 mm | 245 mm | 654 mm |
| 52-75 pages | 15 mm | 10 mm | 245 mm | 656 mm |
| 76-97 pages | 15 mm | 12 mm | 245 mm | 658 mm |
| 98-119 pages | 15 mm | 14 mm | 245 mm | 660 mm |
| 120-143 pages | 15 mm | 16 mm | 245 mm | 662 mm |
| 144-165 pages | 15 mm | 18 mm | 245 mm | 664 mm |
| 166-189 pages | 15 mm | 20 mm | 245 mm | 666 mm |
| 190-202 pages | 15 mm | 22 mm | 245 mm | 668 mm |
Save cover and pages separately. Recommended resolution 300 DPI for images (high quality print) in sRGB colorspace.
Go to the top of this page and select your product options such as cover style, cover material, and color, etc. and choose how you would like to send us your book - Multi-page PDF or single pages or send a link, then follow the instructions below:
For Single page files
For Multiple page files
Or, send a link
After all steps are completed, proceed to the cart and follow the checkout process.
RapidStudio © | All rights reserved. | Contact Us | Terms & Conditions